
Each of the import tabs will provide an opportunity to map typical import files to tell Data Manager RT what columns contain information needed to properly load data in to the database.
For example, on the Hierarchy Import tab, when you initiate the first import, the wizard will prompt for a file to be examined. The file will need to contain information about the model name and unique tag that is being imported AND the entity in the database to which it is going to be attached. These parent/child relationships are established for BOM imports, image imports, etc.
Once you have created the first profile, importing a subsequent file of the same type will not prompt you to map fields if the file is laid out with the same column names and the same number of columns. It will simply provide the preview of what the file contains so you can determine whether to proceed.
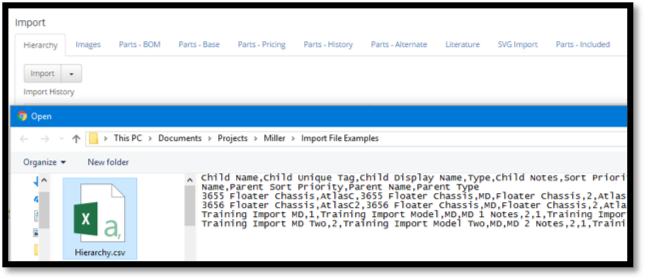
To start the Import Wizard, to import a Hierarchy for example, click on the Import button . When asked if you would like to include a file, click on the browse button and navigate to a file containing hierarchy information that is typical of what would normally be imported.
When you select the file, you will see a File Import Columns section and a System Import Columns section. The File Import Columns section will read the first row of the file and show the fields defined in the spread sheet or CSV file. By dragging items from the left to the “containers” on the right, you will indicate which column, for example, contains the child name. The “child” might be a model that is a child of a division or it might be an IPL that is a child of a model. It might also be a division that is a child of another division.
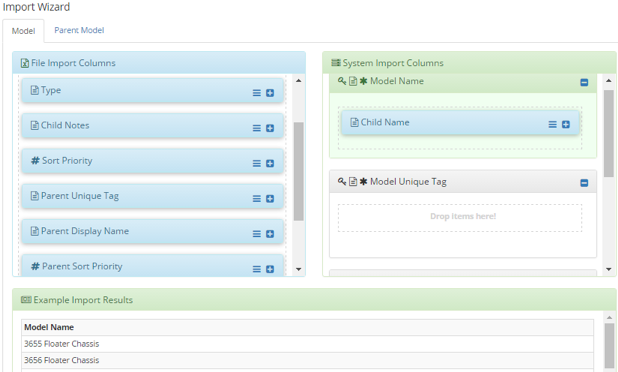
As you drag items from the left side to the right side, a preview of what will come in from the data will be shown below in the Example Import Results table. If you have a file containing models attached to divisions and IPLs attached to models, you will see tabs along the top for Model, IPL, Division, Parent Model, Parent Division, etc. On each of these tabs, you will drag parent and child fields to their appropriate system columns.
When this is complete, click the Submit button at the bottom of the screen. You will be prompted to provide a name for this profile. If you will be getting files from more than one source, you may want to provide a profile name that indicates the source of the data. In the future, when importing data from that source, you can invoke one of multiple profiles to use the one that matches the data.
Once the profile has been named, a Quick Analyze Result screen will display. The first 50 rows of the file will be examined, and any potential errors will be pointed out. This is an opportunity to correct the file or modify the profile if necessary.
If the Quick Analyze Results look valid, click on the Import button to start the import process. The file will be read in, an entry in the Import History will appear and a rollback point will be established on the Rollback tab.
In the future, if you want to modify a profile, you can click on the drop-down arrow next to the Import button that starts the process. Menu options of Go to Wizard, Configure Existing Profile and Delete Existing Profile will appear. Select Configure Existing Profile and then the name of the profile you want to modify. The import wizard will appear with fields mapped as you left them. These can be modified as necessary and saved when complete.